Published May 3, 2023
Assimilate with the Collective with This Borg Cube Candy Box Earrings Craft
Lower your shields and prepare for a new DIY fit for a Queen or drone!

StarTrek.com / Rob DeHart
Are you ready for an Ensign-level mission?
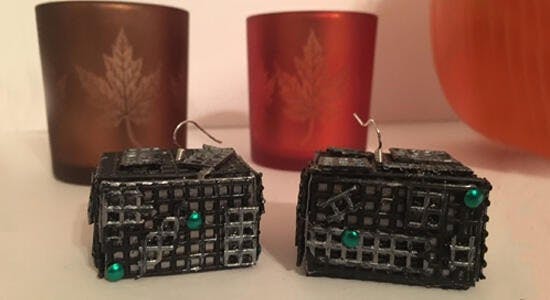
Then, lower your shields, surrender your candy, and get ready to make your own candy-box Borg earrings...
Wondering what to do with all your sweet treats? Luckily, we’ve got an up-cycled project that will put all those mini candy boxes to good use. It’s the perfect fashion accessory for any Queen or drone looking to add stylistic distinctiveness to their own.
StarTrek.com
What You’ll Need
- Two (2) mini candy boxes
- Grey/Silver and Black Acrylic paints
- One (1) black plastic needle point sheet
- Adhesive or Craft Glue
- Paint brush or foam brush
- Two (2) 1” silver earring hooks
- Scissors
Trek-It-Yourself
Step One: Empty and enjoy your candy. (This is the easiest and most fun step of all!)
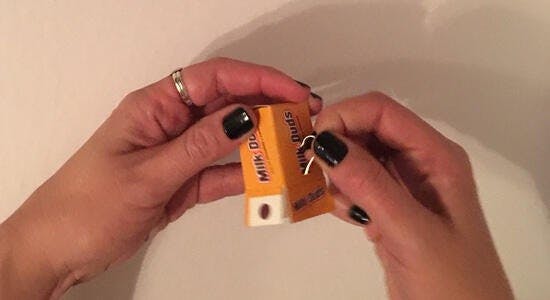
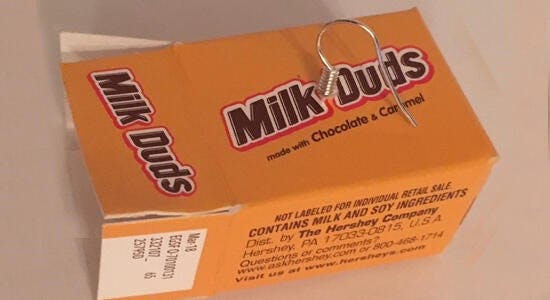
Step Two: Run your fishhook earring through the center top of the box from the opened end. It’s important to do this step before sealing your box.
StarTrek.com
StarTrek.com
Step Three: Use a small amount of craft glue to seal the flaps shut on the opened end.
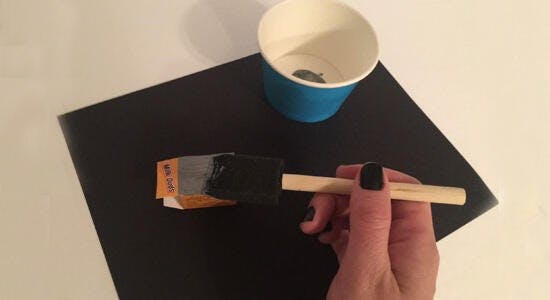
Step Four: Protect your work surface with a newspaper or drop cloth and paint all four sides of the box pewter grey with your acrylic paint. Let dry for at least 1/2 an hour.
StarTrek.com
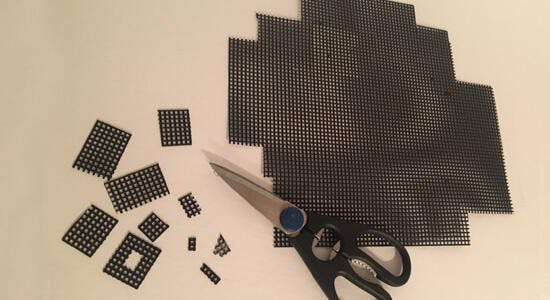
Step Five: While your paint is drying, cut pieces of your needle point sheet to fit all four sides of the box. Those will then be glued to the surface. Also, cut out random shapes from the needlepoint sheets, such as tiny squares and rectangles. These will look like the random ship pieces stuck to the side of the Borg cube.
StarTrek.com
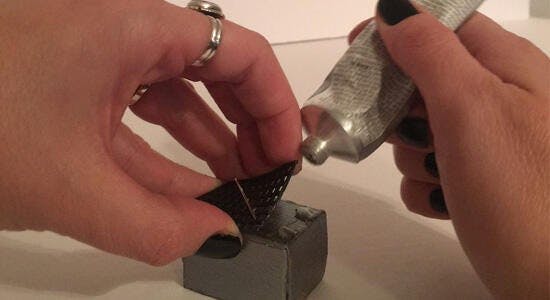
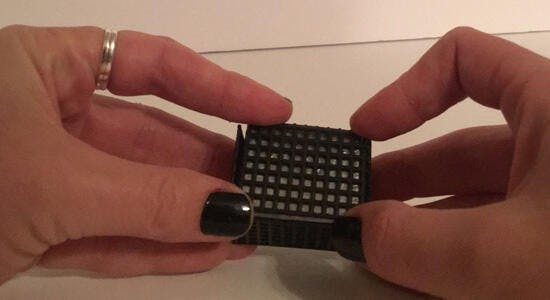
Step Six: Once your paint is dry, glue the needle point cut outs to the four sides. Then, add your smaller pieces on top in any way you’d like.
StarTrek.com
TreknoTip: If the plastic pieces aren't sticking to the needlepoint sheet, you can glue some dark green felt to the back of the pieces to give more grip.
StarTrek.com
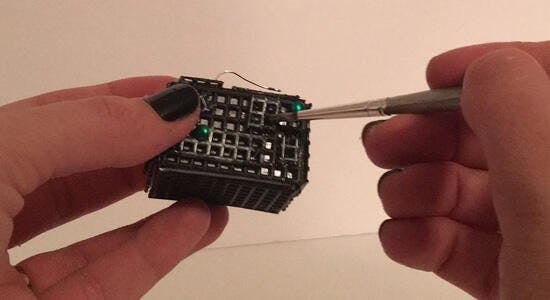
Step Seven (of Nine): Allow to air dry and then paint the black sheets with some grey and silver paint to add distress to your ship.
TreknoTip: You can add small green or red brads to represent tractor and cutting beams.
StarTrek.com
Want to add more stylish distinctiveness to your home? Check out our Borg cube tissue box cover tutorial.


