Published May 10, 2024
RECAP | Star Trek: Discovery 507 - 'Erigah'
Never turn your back on a Breen.
SPOILER WARNING: This article contains story details and plot points for Star Trek: Discovery.

StarTrek.com
Previously, L'ak reveals that his uncle is the Breen Primarch of the sixth flight. While he chooses to save Moll, he cannot kill his uncle, injuring him with a non-lethal phaser blast, in consideration for the man who raised him.
Book assures Moll that while she can hate him, he will not allow anything to happen to her or Michael Burnham; the fugitive courier is the only family he has left. Whereas Captain Burnham questions L'ak if he even knows what he's after; "power beyond all comprehension" in the Breen's hand will prove catastrophic. L'ak assures her that he and Moll will be long gone by then. There's an erigah on them, and the Federation could not wipe something of that magnitude away. In an ensuing skirmish with Burnham, L'ak is severely wounded. The two fugitive escape off the I.S.S. Enterprise via a Terran war pod with sickbay equipment — a life support system.
While on Halem'no, Tilly learns the symbols within the temple represent numbers in ancient Halem'nese. The clue vial Burnham took from L'ak bears the same marking as the one that represents the fifth tower. There, they find their next clue — a metal card with Betazoid text inscription.
In Episode 7 of Star Trek: Discovery, "Erigah," with Moll and L’ak finally in custody, the Federation is pulled into a diplomatic and ethical firestorm when the Breen arrive and demand they be handed over. Meanwhile, a frustrated Book looks for ways to help as Tilly, Adira, and Reno work to decipher the latest clue.

StarTrek.com
- Nhan
- Michael Burnham
- Cleveland "Book" Booker
- Dr. Hugh Culber
- Moll (Malinne Ravel)
- L'ak
- Asha
- William Christopher
- Linus
- Rayner
- Charles Vance
- T'Rina
- Gallo
- Paul Stamets
- Sylvia Tilly
- Adira Tal
- Zora
- Jett Reno
- Primarch Ruhn
- Arisar
- Teemo

StarTrek.com
- U.S.S. Discovery-A
- Federation Headquarters

StarTrek.com
In deep space, a recording of Moll's voice announcing, "Special offer. Courier services. Limited time only," is being broadcast from the warp pod she used to escape from the I.S.S. Enterprise. The U.S.S. Locherer has secured the craft in a tractor beam, and the U.S.S. Discovery-A jumps to the scene. In Discovery's corridors, Commander Nhan briefs Captain Michael Burnham about the message, which was transmitted on subspace frequency Epsilon 19 — a courier channel. "Special offer" is code for SOS, so the captain deduces that Moll hoped a courier would rescue her and save L'ak. Under Admiral Charles Vance's orders, Nhan and her security are to assist Discovery as they transfer Moll and L'ak to Federation Headquarters. The Barzan officer hands Burnham the Romulan diary she confiscated from Moll. Written by Dr. Vellek, it chronicles the Romulan scientist's research into the Progenitors' tech.
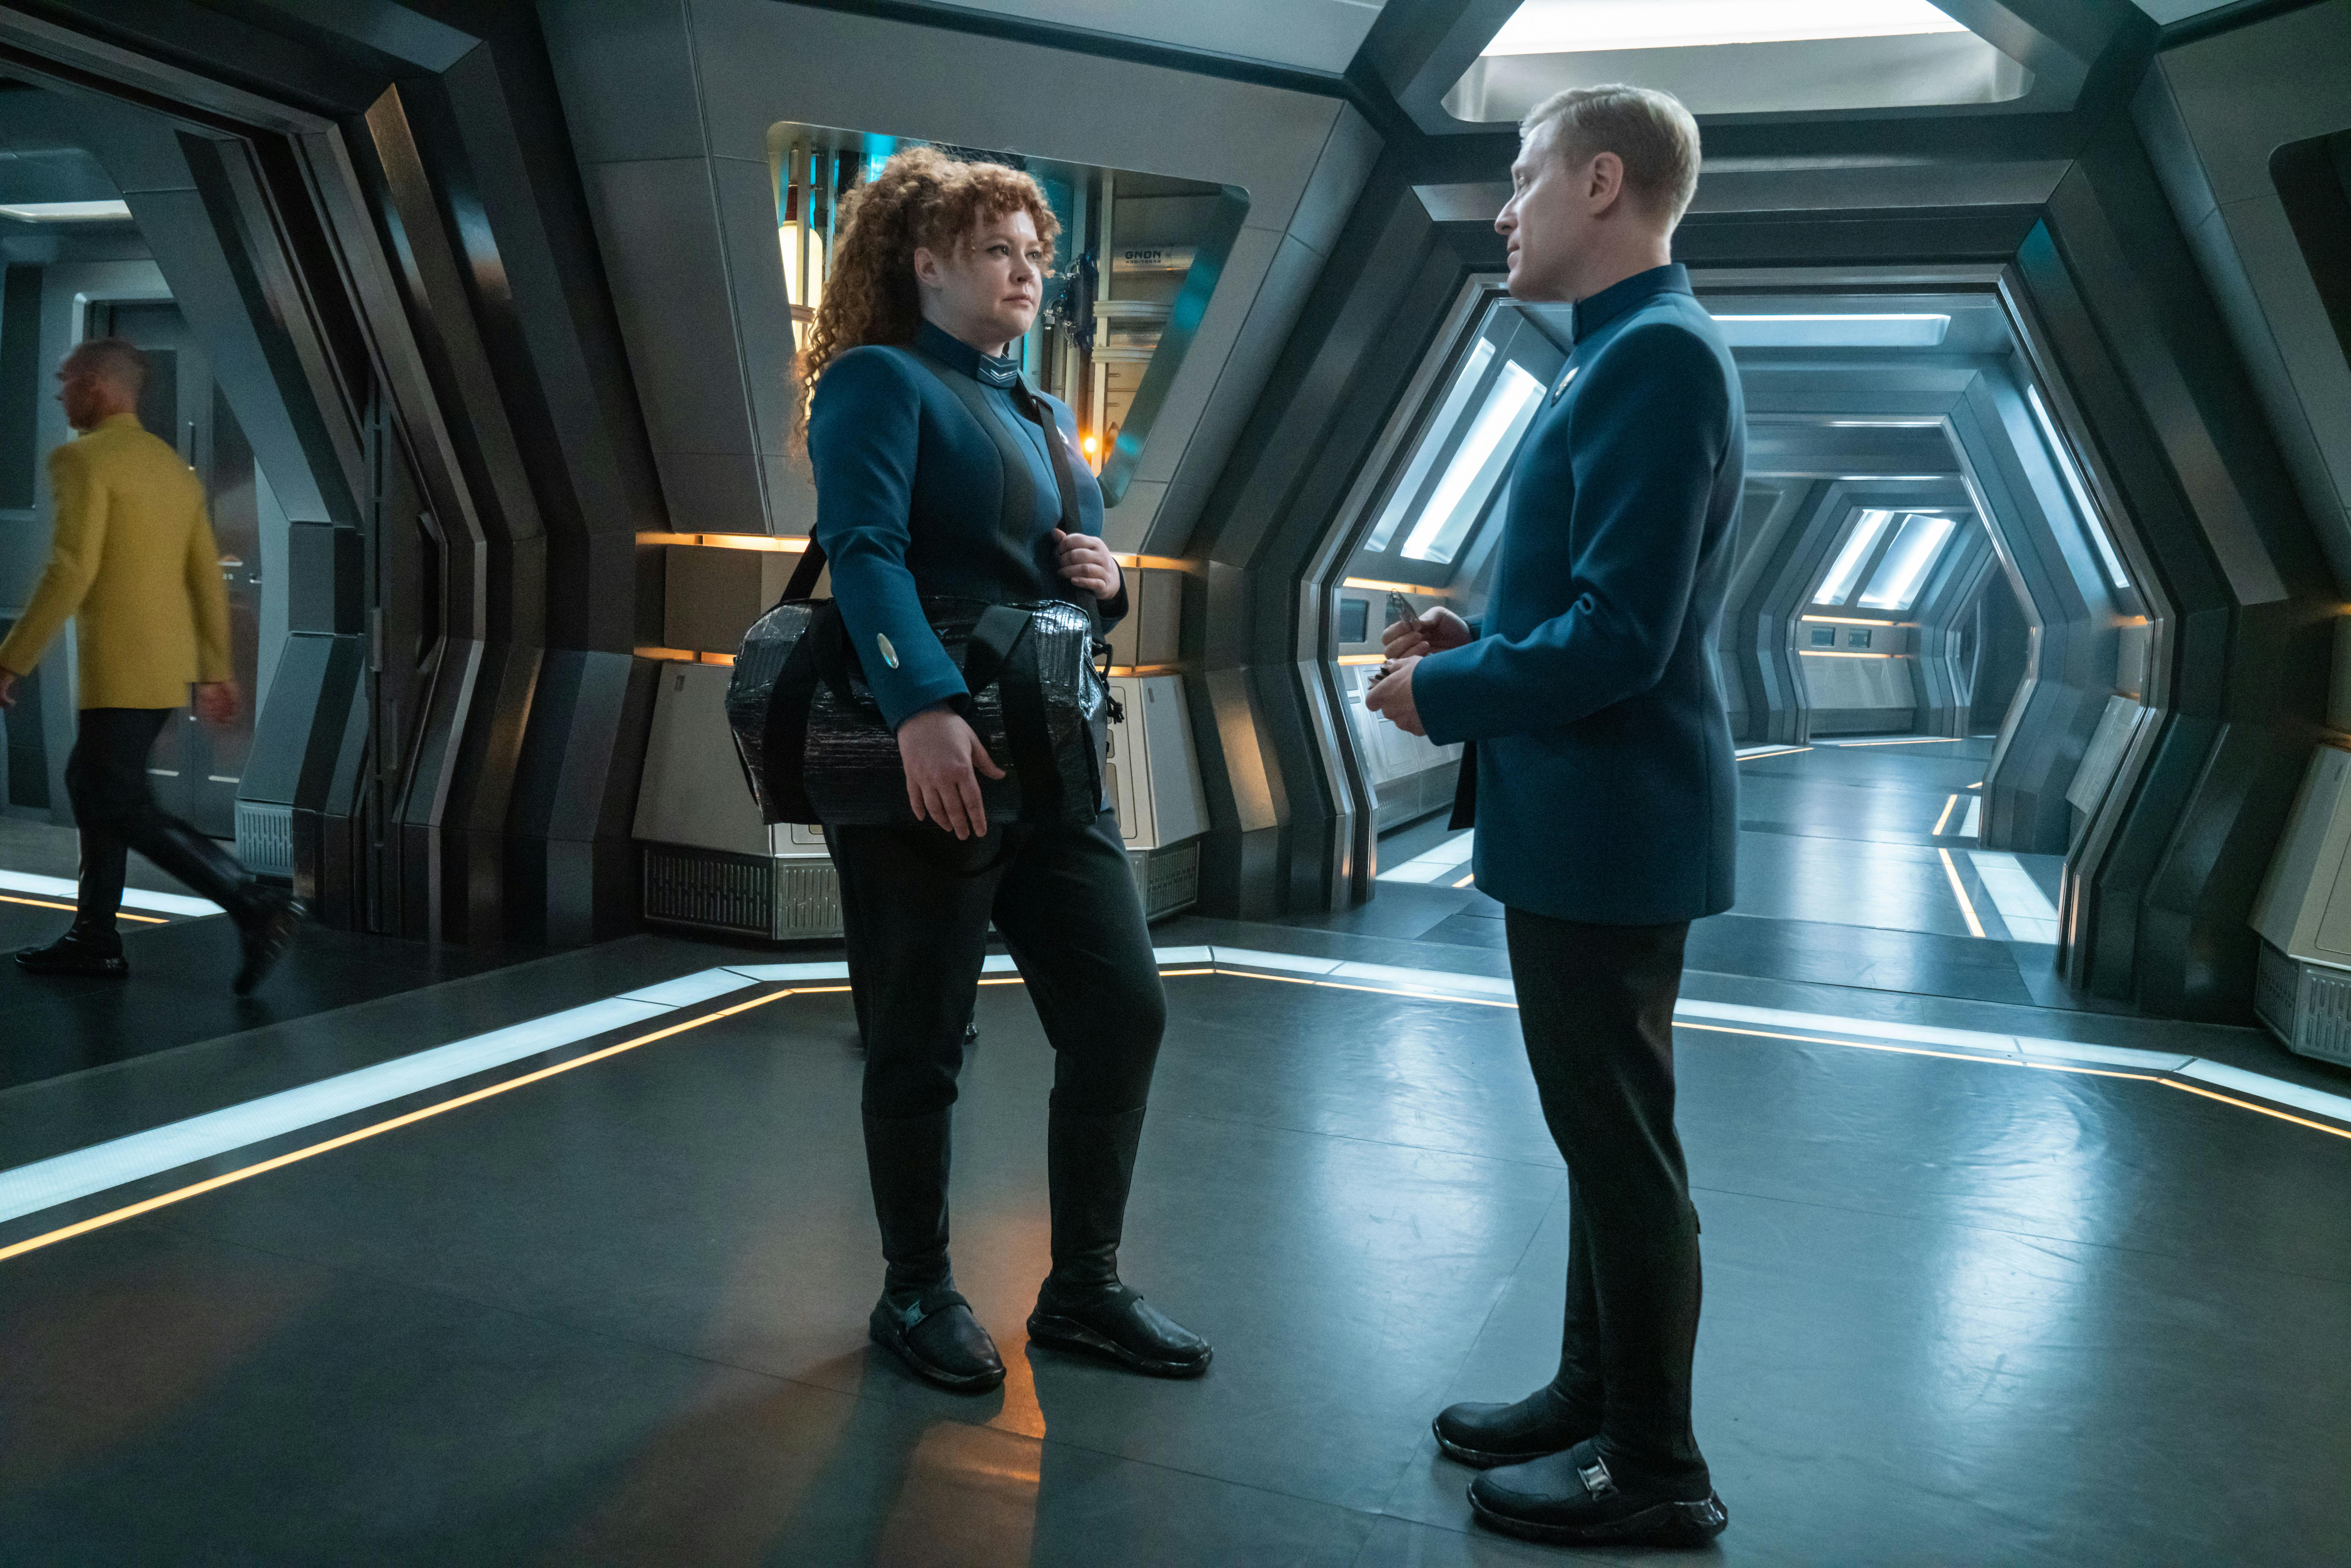
Burnham and Nhan approach the entrance to Sickbay, where two Starfleet guards are preventing Cleveland "Book" Booker from accessing the room and meeting with Moll when she beams over. Palpable tension exists between Nhan and Book, but the Kwejian argues that he might be able to get Moll to start talking. Nhan recalls the last time she saw Book — another "personal situation" in which he fired photon torpedoes at Discovery and set off an isolytic weapon. Book's desire to make things right doesn't ease Nhan's stern expression, but the captain speaks up to vouch for him. The Barzan reluctantly states she will find him if they need help during their debrief, prompting Book to depart in an equally hesitant fashion. Burnham expresses her trust in Book, and the two exchange smiles as Nhan jokingly confides that is why she "went easy" on him.

"Erigah"
StarTrek.com
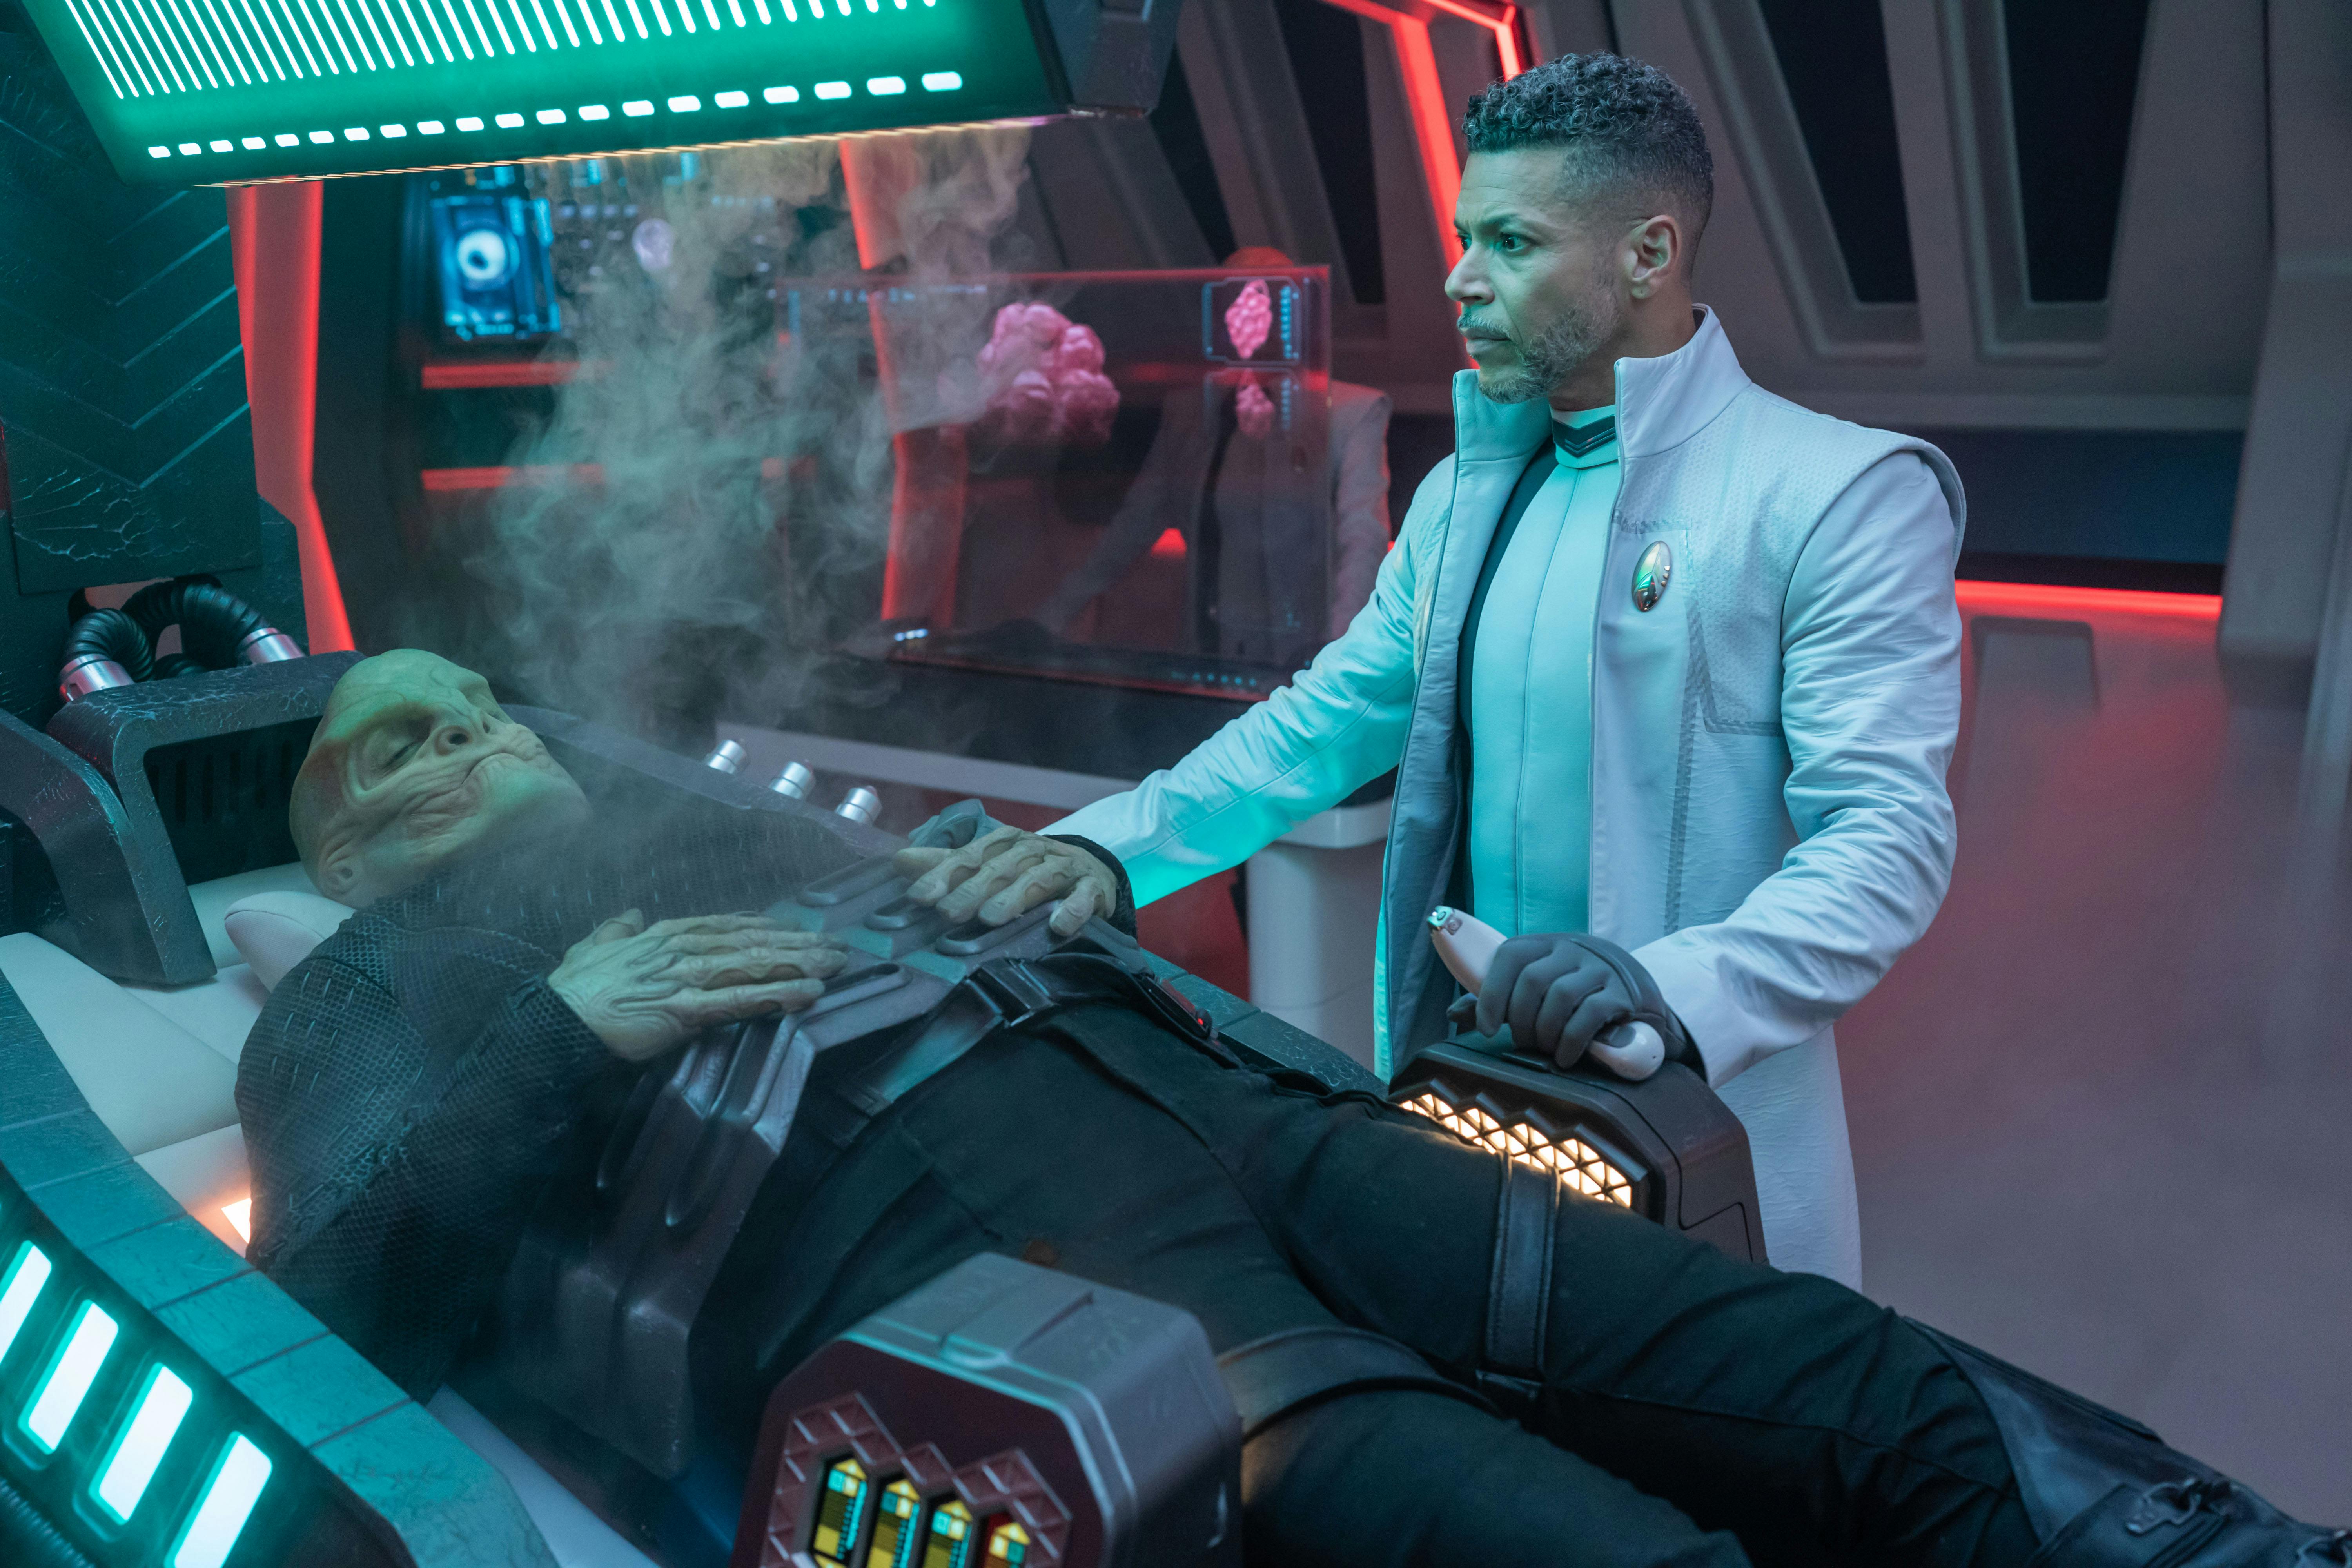
Sickbay's doors slide open, revealing Dr. Hugh Culber standing next to a biobed as he awaits Moll and L'ak's arrival. L'ak is in bad shape and will be beamed directly into the biobed, while Moll — dehydrated and half-starved — will also be held within the same containment field. Captain Burnham contacts the Locherer to greenlight the transfer, and Nhan draws her phaser in a precautionary stance. The two couriers are beamed into the room alongside two security officers. L'ak writhes in pain, and Moll becomes combative toward the captain while blaming her for her partner's injury.
Culber scans his patient before taking Burnham aside to deliver his assessment. L'ak is fading — a vital organ must have been hit, but Breen physiology is still largely a mystery. The captain describes the situation as politically charged, believing the death of a Breen fugitive in Federation custody could inflame an already tenuous diplomatic situation. Relying on Dominion War era medical research which indicates the Breen are capable of somatic cell regeneration in extreme cold, Culber proposes placing L'ak in a captured Breen refrigeration unit being stored at Fed HQ. The technology could allow them to turn the biobed into a low-temperature ICU unit. The idea remains a longshot, but Burnham agrees and beams out to brief Headquarters.

"Erigah"
StarTrek.com
The Discovery approaches Federation HQ, where two other Starfleet vessels are also currently stationed. On the Bridge, Lieutenant Christopher shares that Admiral Vance would like to speak to the captain before they dock. The matter is classified, so Burnham retreats to her Ready Room and hands the conn over to Commander Rayner. As the captain enters her office, Vance transports in bearing an unsettled look on his face. Moll and L'ak must remain in Discovery's custody, and the ship must jump away immediately. The admiral calls up a transmission in which the Breen warn the Federation that they must turn over the two fugitives who have incurred an Erigah. Scans show a Breen dreadnought on a course for Fed HQ at maximum warp, and President Laira Rillak is off at a diplomatic summit on Tellar Prime.
Vance does not consider handing Moll and L'ak over to the Breen to be an option. Although the Breen can not become aware of the Progenitors' technology, Burnham takes issue with the admiral's strategy of simply denying the Federation has the couriers. Vance has a slight issue with the captain's decision to speak so freely, but he concedes that having the prisoners elsewhere will force the Breen to consider how far they're willing to push the Federation in order to fulfill the Erigah. Burnham counters, noting the Breen will eventually figure out the ruse, begin tracking Discovery's jump signature, and leave carnage in their wake as they track the ship. Permitting Discovery to stay will speed up the inevitable and coerce the Breen into dealing with the Federation. The admiral accepts Burnham's solution and directs a troubled gaze at the holographic that depicts the Breen dreadnought.
Ni'Var’s President T'Rina walks into Federation HQ's Briefing Room, where Vance, Burnham, and Rayner have gathered to analyze the situation. President Rillak has delegated T'Rina to lead negotiations in her stead. T'Rina has reviewed all records of diplomatic relations with the Breen, but there has been no official contact since before the Burn. Although recent intelligence is limited, the Federation knows the Breen Imperium has experienced unrest since the death of its Emperor. Six primarchs are waging a war for the throne, though they do not know which faction is on its way to Fed HQ. Rayner defiantly proclaims that all Breen are the same — the word 'diplomacy' is not in their vocabulary, and he sees teaching it to them to be more of a pipe dream than a tactic. T'Rina insists this faction seeks power, reasoning that there must be something the Federation can offer which will negate the Erigah. Arms crossed, Rayner points to what happened the last time the Breen entered Federation space. Vance remarks that this situation is different, as more Starfleet ships are on their way. His goal is to keep things calm until backup arrives.
Captain Burnham chimes in, observing that the Breen don't need to come into Federation territory to make this demand. The excursion is a risk for them, so there must be another reason the Breen want Moll and L'ak. Since the most powerful weapon in diplomacy is information, T'Rina contemplates a recent report from Captain Saru, who is away on a diplomatic mission near Breen space. The Breen's factional wars stem from a succession dispute involving competing claims from disparate branches of the royal bloodline. Frustrated by the discussion, Rayner interrupts and states that none of this will matter if the Breen believe they can win. The first officer suggests they install thoron emitters on the hull and use duranium shadows to give the impression that they're armed to the gills.
Burnham attempts to diffuse his anger, but Rayner makes reference to the Romulan saying, "Never turn your back on a Breen." T'Rina is taken aback by the xenophobic statement, yet Rayner insists that the Breen view genocide as a necessity — their version of a Prime Directive. Burnham halts the exchange by asking her first officer to wait for her outside. Upon Rayner's exit, the captain offers to place her limited rapport with Moll and L'ak to the test to see if they'll share what they know. Vance agrees, but requests that she keep her Number One in line. They can't afford any missteps once the Breen reach Fed HQ.
Leaning against a wall in the corridor, Rayner awaits his captain. As soon as he sees Burnham approach, he launches into a spirited declaration that the admiral's defensive position is an invitation to be decimated. Burnham cuts him off, leading her first officer down the hallway and voicing her concern for his ability to handle this situation. She senses this is personal for him, and he apologizes for his tone. Burnham reflects on this for a moment, opting to dismiss Rayner rather than pursue her suspicion any further. The captain contacts Lieutenant Gallo and orders her to place Discovery on Yellow Alert.
"Erigah"
StarTrek.com
In one of Discovery's own corridors, Commander Paul Stamets hurries to catch up with Lieutenant Sylvia Tilly as she carries her luggage to the Shuttlebay. The Academy instructor is intent on heading to Fed HQ to help defend her cadets from the Breen, but Stamets presents her with a metallic card that was attached to the clue from the fifth tower on Halem'no. Inscribed with a Betazed logo, the item's text translates to "The Labyrinths of the Mind." If Tilly and Ensign Adira Tal focus on the meaning of that phrase, the astromycologist can figure out the properties of the metal. Considering the Breen destroyed an entire city the last time they paid a visit to the Federation, Tilly is surprised that Paul is focusing on the clue.
Stamets emphasizes the magnitude of their mission. The U.S.S. Mitchell is standing by in case it receives an encrypted message from Discovery. Or, as Tilly puts it, in case Discovery can't complete the mission because they're all dead. Holding up the clue, Stamets declares it to be the most important thing in the Federation at the moment — they must prevent the Breen or another power from obtaining the Progenitors' tech. Paul reminds Tilly that Fed HQ is probably the safest place her cadets can be, finally convincing the lieutenant to stay.
Captain Burnham visits Dr. Culber in Sickbay, where the containment field continues to surround Moll and L'ak. With subzero gasses promoting a strong immune response, the Breen courier's condition has improved. Keeping warm in a cozy Starfleet jacket, the doctor allows the captain to chat with the prisoners. Having intercepted Moll's SOS, the Breen are on the way to Fed HQ. Burnham is curious as to what the couriers' plan had been, but Moll insists that she and L'ak have always been partial to winging it. The captain also wonders what else the Breen might accept as payment to lift the Erigah, though L'ak is adamant there is not another way.
Burnham eyes Moll. The captain doesn’t buy the excuse, citing the presence of a Breen dreadnought — the most powerful warship class in the entire Breen Imperium — as evidence that this Primarch really wants Moll and L'ak. The couriers would prefer to be released so they can take their chances on their own, and L'ak comments that some things are worse than death. Burnham evaluates the remark, realizing that the Primarch doesn't actually plan on killing the prisoners. Recognizing there must be a familial connection, she asks if L'ak is the Primarch's child, sibling, or cousin.

"Erigah"
StarTrek.com
The captain's query is met with silence, so she hypothesizes that — since the Primarch wants the throne — they can somehow get it for him. For people who fought for their freedom, being under the Primarch's thumb would be worse than death. Moll glances at L'ak, unintentionally helping Burnham reach a stunning conclusion. L'ak is the bloodline, not the Primarch. L'ak responds, disdainfully admitting that he is the direct descendant of the Emperor and the Scion of the Breen Imperium. L'ak ends the discourse by imploring that Burnham spit in his uncle's face for him once he gets to Fed HQ.
In the Science Lab, Zora reports to Tilly and Adira, informing them that she has found a match for the metal card's inscription. Labyrinths of the Mind is the title of a Betazoid manuscript written by Dr. Marina Derex in 2371. Derex was one of the scientists who helped hide the Progenitors’ tech, but only a few thousand copies of the work were published in the 24th Century. While no copies are known to have survived, the punctuation of the Betazed symbols point to this being the root text for the original, handwritten manuscript. Zora has no record of where it could be, but Adira asks Zora to scan Starfleet personnel files for anyone with expertise in ancient manuscripts.
As the artificial intelligence combs through data, Adira notices a look from Tilly. Despite the ensign's fear about being on the Bridge, the lieutenant notes that they did a great job during the Halem'no mission and are continuing to excel in their current assignment. Adira is finding their way, and Tilly recommends they not be afraid to take on more. As Adira appreciates the advice, Zora confirms that she has found someone whose curriculum vitae lists experience as a rare and antiquarian bookseller. The two officers are shocked to learn that the person is Discovery's very own Commander Jett Reno.
"Erigah"
StarTrek.com
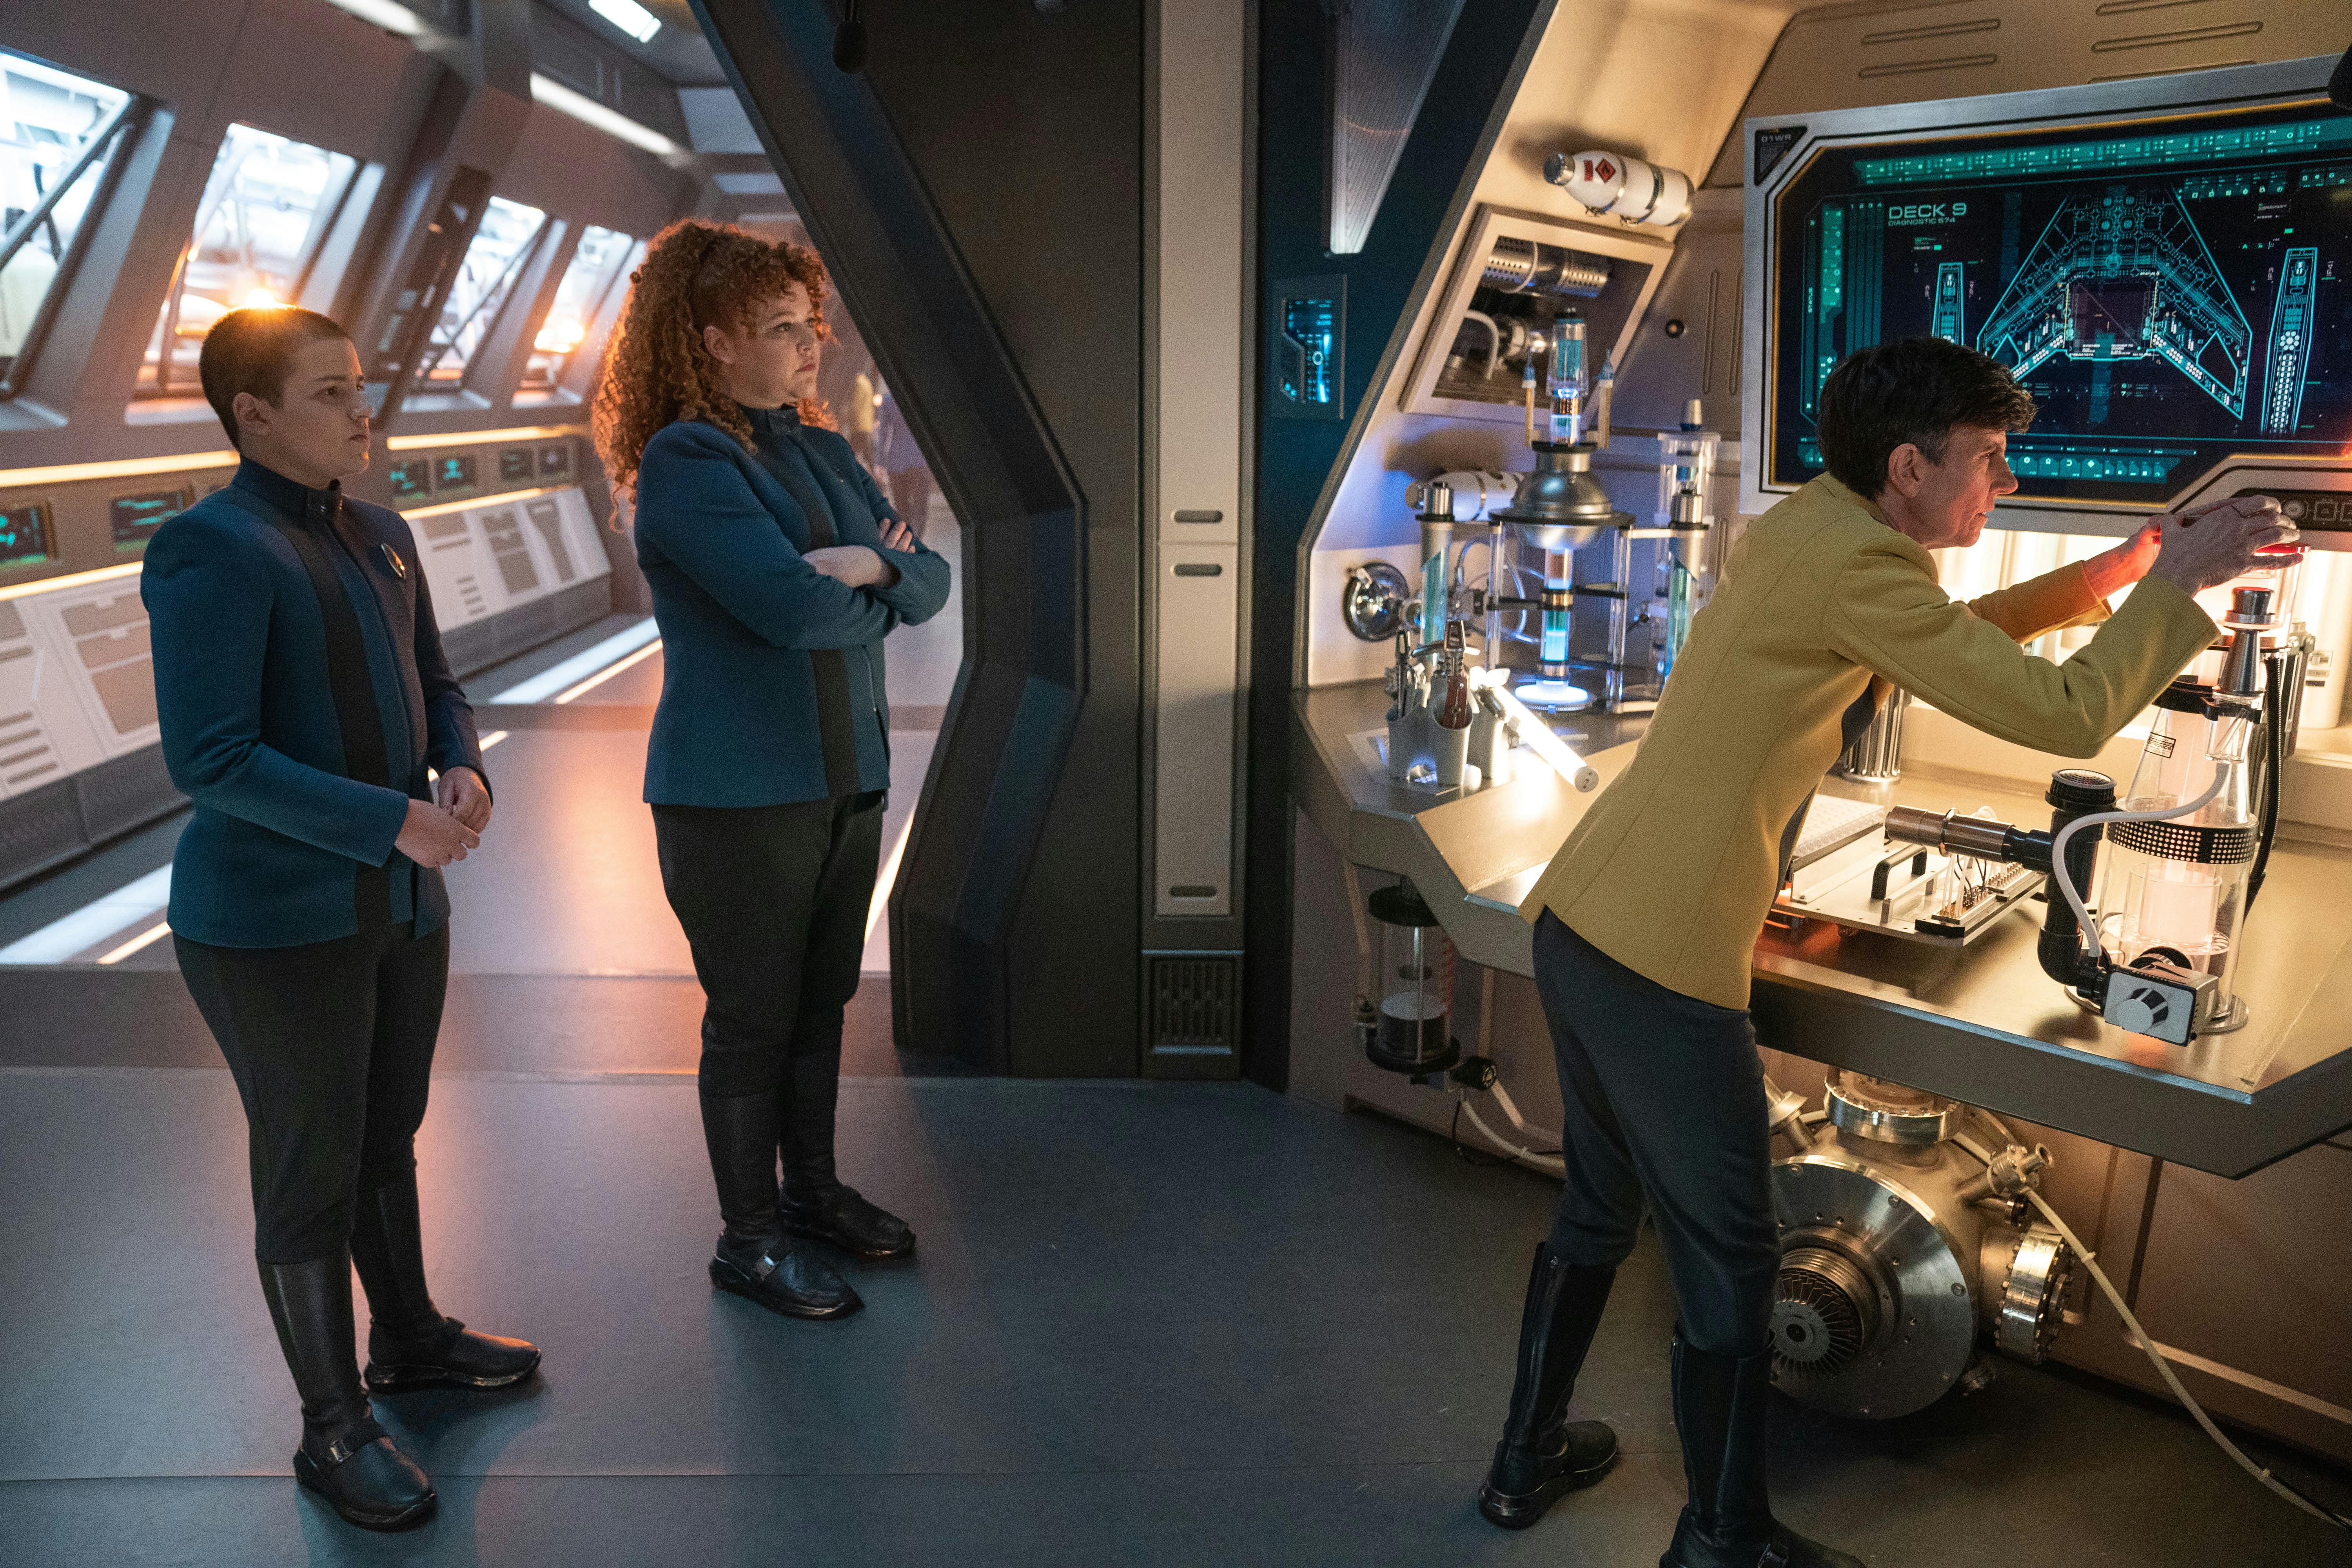
Tilly and Adira locate Reno in a corridor, where she kneels to make repairs to a targeting matrix in preparation for possible hostilities with the Breen. Adira is dismayed by the depressing outlook, and Reno insists her perspective is rooted in the Breen's whole "faceless helmet vibe." Truncheons, jackboots — where’s the nuance? Tilly cuts to the heart of the matter, but the engineer confesses that she may have padded her resume. She used to move hard to find folios for a shady antiquarian archivist — a smuggler, in Adira's words. Reno elaborates, mentioning that she had many odd jobs before committing to Starfleet, such as VIP shuttle pilot, deep mercury welder, bartender at a cozy little dive on Ashalon IV. in fact, she’s supposed to pick up a guest shift tonight at Red's Lounge. You haven’t lived until you’ve tried her "Seven of Limes."
Adira laughs, stating that Reno has "really got around" before they anxiously adds "not like that." Reno turns back from an open panel and affirms, "Oh, yeah. Like that." Tilly sees this as a story for another time, awkwardly shifting back to Labyrinths of the Mind. Reno thinks it over, stating that it could have ended up in a private collection, museum, or landfill. Tilly's need to find the last clue has left her nervous, but the engineer is confident they can figure it out. Reno guides them down the hallway so that she can overhaul the shield emitters, but they listen as a shipwide announcement takes them to Code One Alpha. The corridor is cast into a deep shadow, and Reno curses, "Shit! They’re here." An immense Breen dreadnought takes a position near Federation HQ and dwarfs its adversaries.

"Erigah"
StarTrek.com
Captain Burnham joins Vance and T'Rina in Fed HQ's Command Center, where the station is placed on a Yellow Alert. The dreadnought is the same ship that destroyed Headquarters in the time bug cycle. Scans can't penetrate its shields, but Burnham shares her recent discovery with the admiral and president — without L'ak, this Primarch has no claim to the throne. They just need time to figure out how to use that information to resolve this peacefully.
Primarch Ruhn responds to a hail, and Lieutenant Teemo translates the mechanical Breen vocalizations into Federation Standard. Ruhn demands the fugitives be transferred to his ship, stressing that there will be no negotiation. T'Rina counters that they will need four hours to draft and approve extradition orders, but Ruhn gives them one hour — failure to comply will be considered an act of war. Burnham takes note of the president's "extradition orders" excuse, and T'Rina jokes that it seemed more believable than a tribble infestation. With the one hour deadline in mind, the captain has an idea as to how to proceed.
Meanwhile, Zora presents Stamets with an expansive holographic map of planetary systems in Engineering. The astromycologist asks her to eliminate systems that aren't rich in ionized beryllium or gadolinium-154, then alters his request by imploring her to remove entries that contain alloys, minerals, or compounds that are not detected in the Betazoid card. A handful of systems vanish from the projection. The lack of progress deflates Stamets' hopes, though he is pleasantly surprised when Book enters the room and offers to help. The Kwejian professes that he is "shite at sitting around," so Stamets presents him with the dilemma of narrowing down where the Betazoid card was made — a needle in a hundred million haystacks.
Captain Burnham finds Commander Rayner at Federation HQ, where he stares out a viewport at the green glow of the Breen starship. They're running out of time, so Burnham is direct — What does he know about Breen leadership? Given Rayner's strong reaction to the Breen, the captain did some digging and found that Kellerun had been used as a Breen outpost for a number of years. The first officer wrings his hands, his voice quaking as he reveals it's not a time he likes to talk about. He is not familiar with a Primarch Ruhn, as Primarch Tahal had controlled his homeworld. Without any warning, Breen ships showed up and filled Kellerun’s sky like a swarm of Golor beetles. Intent on using the planet as a munitions resupply hub, Tahal clear-cut Kellerun's forests, poisoned its seas, blackened its skies, and killed many of its inhabitants — including Rayner's entire family. In the commander's estimation, the Breen can not be negotiated with when they want something, yet Burnham believes he just provided her with a way to satisfy Primarch Ruhn's demands without giving him Moll and L'ak.
Aboard Discovery, Commander Reno reminisces about her 800-year-old contacts in the book trade — all of whom are pushing up daisies now — and hones in on the notion that the Betazoid manuscript is one-of-a-kind. Since Dr. Derex would have wanted to protect it, Reno posits that Tilly and Adira should check the Eternal Gallery and Archive, a bank-like neutral facility that welcomes all worlds and safekeeps countless rarities. Unfortunately, the Archive stays secure by remaining on the move. The clue and its inscription might even be the manuscript's library card. Armed with this intel, Tilly and Adira thank Reno — who replies with an informal salute — and speed off to continue their investigation.
"Erigah"
StarTrek.com
In Sickbay, Dr. Culber is pleased to let L'ak know that he is now in stable condition. The Breen courier opines that Captain Burnham is making a mistake by believing his species thinks like humans do. Regardless of the differences between cultures, Culber has faith in common ground. L'ak denies this, arguing that Moll loves him because of their differences — not despite them. Moll fails to conceal a smile as she looks down at her partner in the biobed, then asks the doctor to give L'ak time to rest. Culber steps away so that a Starfleet security officer can raise the containment field. Moll takes a seat, seizing the opportunity to speak quietly with L'ak. They can't let his uncle take custody of them before they have the Progenitors' tech as a bargaining chip. L'ak counters that the Federation will never give them up, and being stuck in a brig is just another kind of stuck.
L'ak urges Moll to make a run for it, but she refuses to leave his side. The wounded courier suggests she steal a shuttle and beam him onboard, but he's certain she won’t like his plan to deal with the containment field. The guards notice the prisoners are discreetly conferring, so they take a few cautious steps toward the biobed. L'ak and Moll undescore their love for one another and prepare to enact their plan.
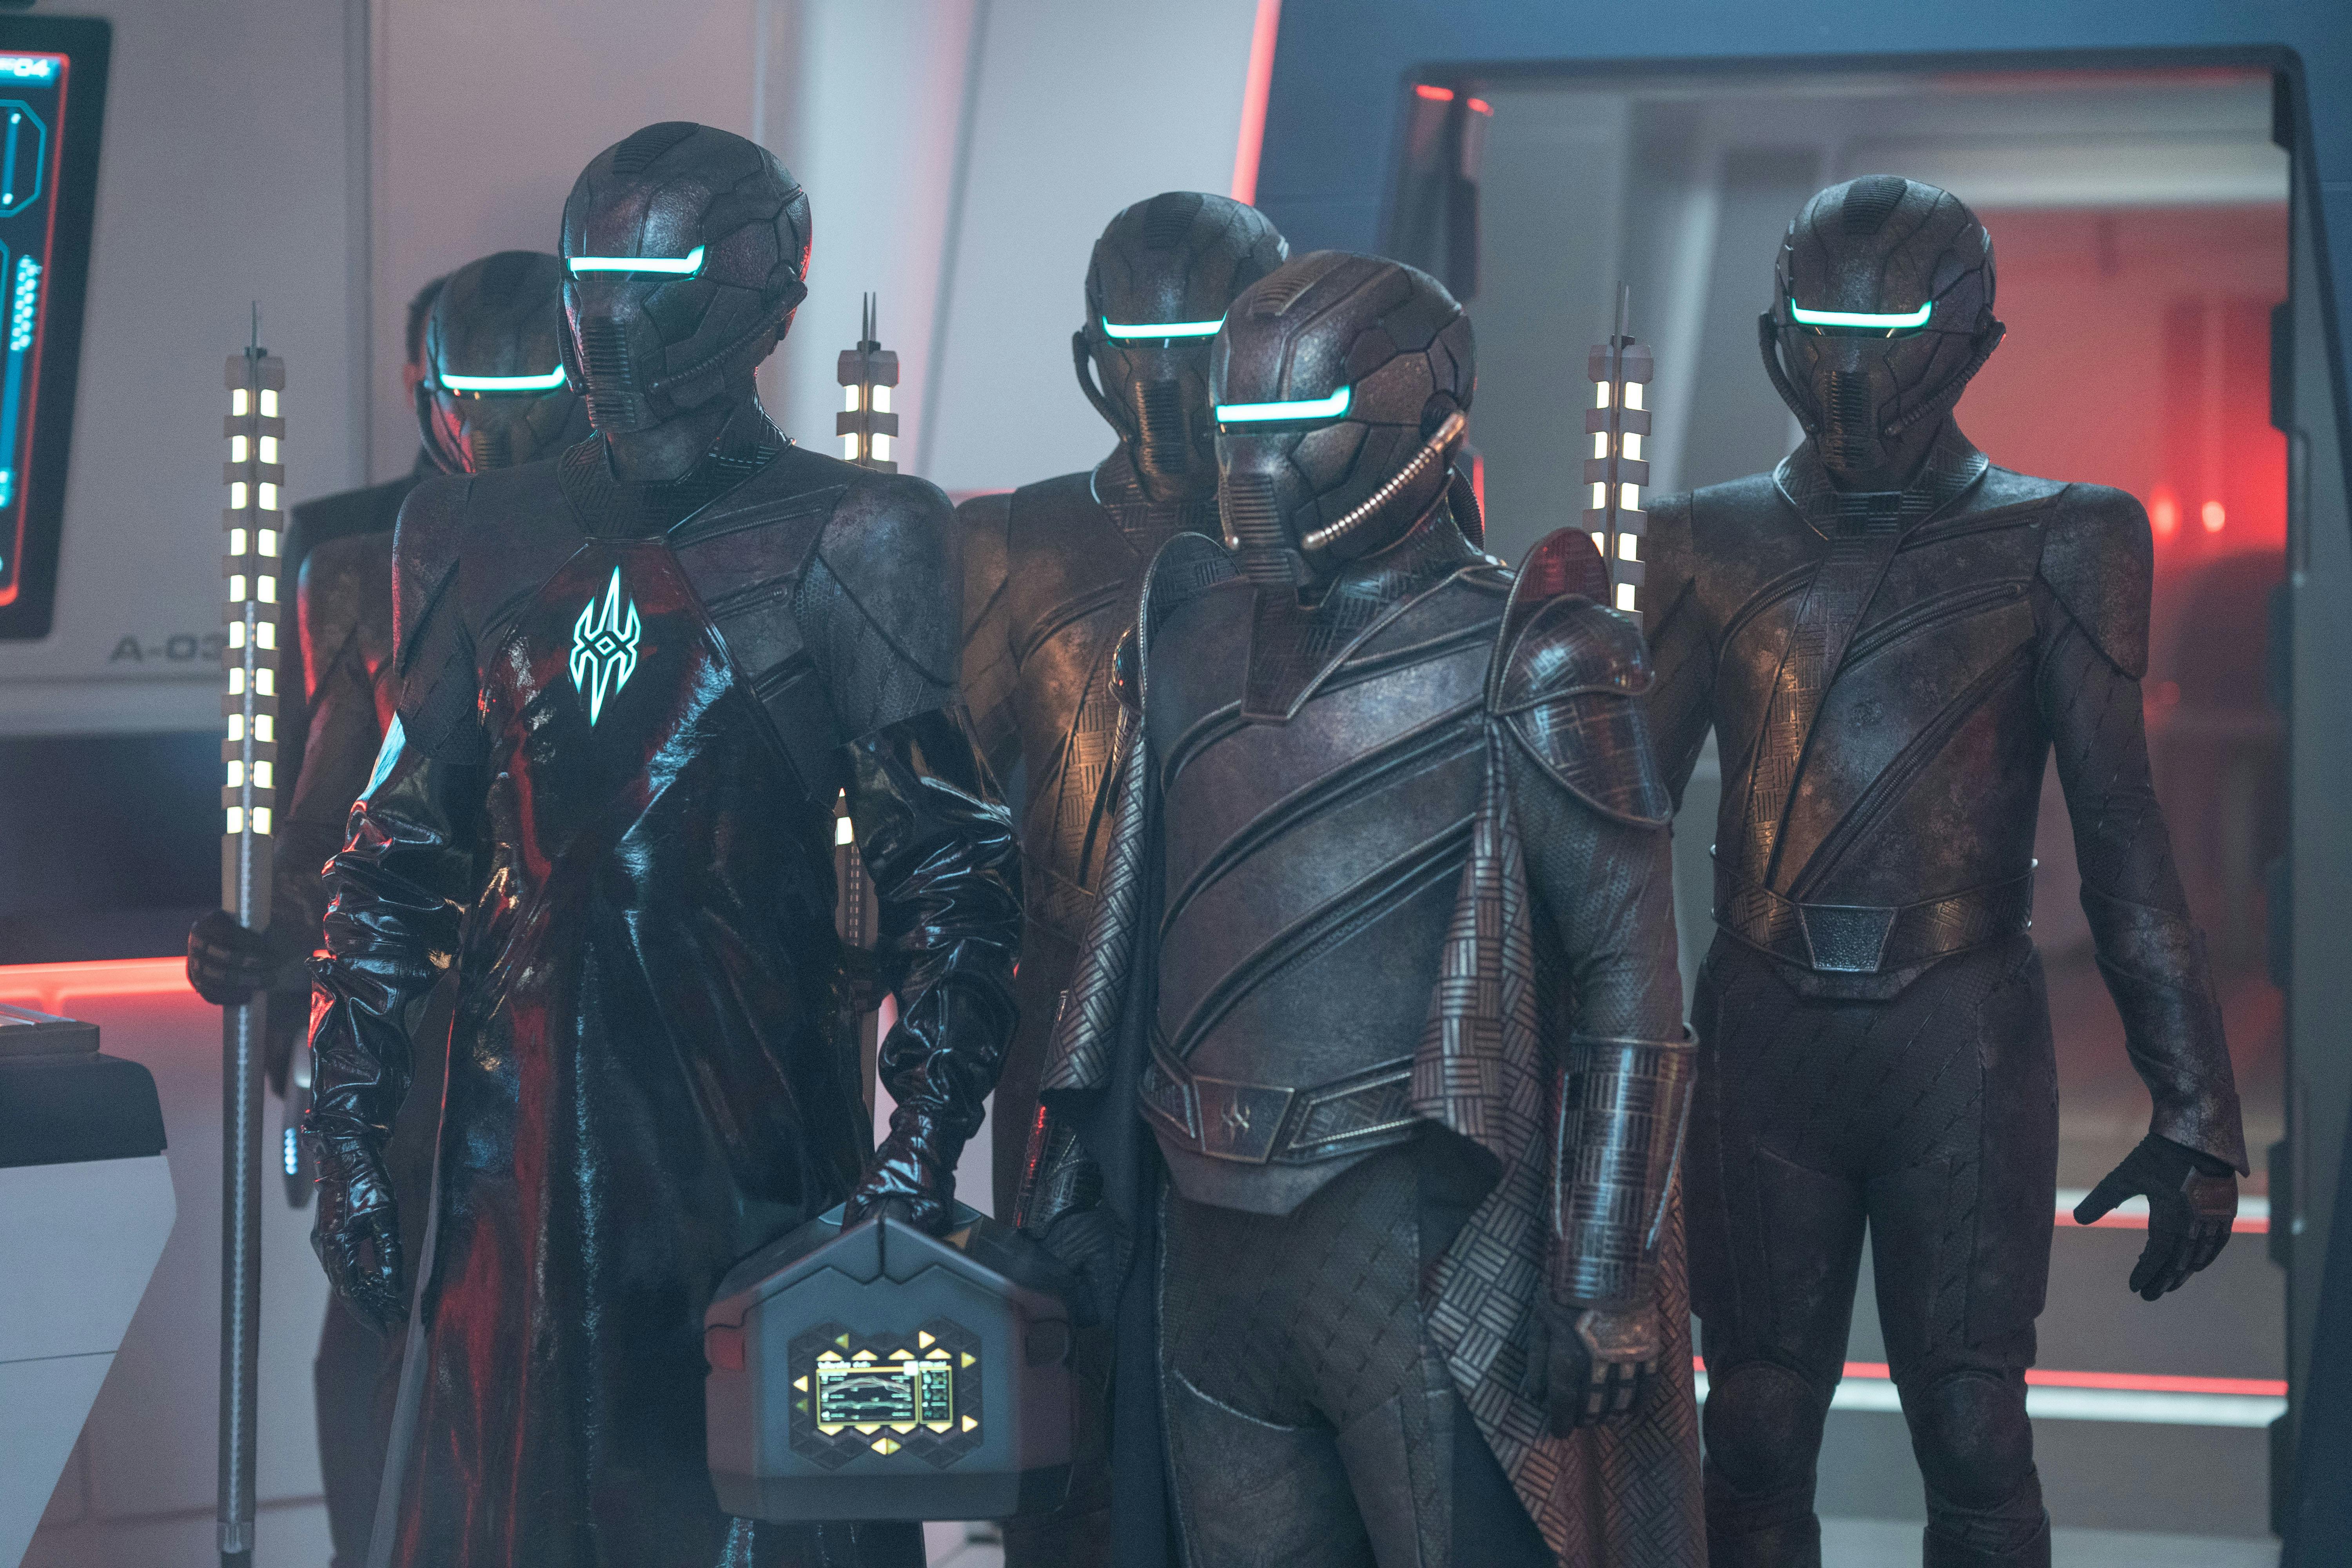
President T'Rina, Captain Burnham, and Commander Rayner stand by in Fed HQ's Command Center, listening as Admiral Vance orders Lieutenant Teemo to inform the Breen that they are ready to transfer custody of the fugitives. Green flashes spark around the room as Primarch Ruhn, Lieutenant Arisar, and a contingent of Breen guards beam in with their truncheons by their sides. Ruhn dispenses with pleasantries and relies on Arisar to translate his demands into Federation Standard. T'Rina delays, proposing they use their remaining time as a chance for conversation. Arisar relays that Ruhn has no need for conversation, but the President startles the Breen contingent by offering a more accurate translation — Ruhn has no need to speak with "spineless, insignificant achworms."
Vance pounces on the Breen's momentary unbalance, presenting them with an offer of 45 metric tons of raw dilithium in trade for lifting the Erigah on Moll and L'ak. Ruhn speaks in their own tongue to avoid any confusion — the only payment for a blood bounty is blood. Preferring to avoid conflict, T'Rina gives Ruhn a final chance to consider their request. She brushes aside the Primarch's declaration that he is insulted, stating that the Federation has been refused, rebuffed, and now ridiculed. Instead of handing the prisoners over to Ruhn, T'Rina announces that she will accept an offer they’ve received from Primarch Tahal. Captain Burnham says that Tahal is very interested in having L'ak by her side to bolster her claim to the throne — the same as Ruhn. The Breen's demands are not about an Erigah, they are about power.
Primarch Ruhn extends his arm in defiance, his truncheon materializing in his hand. The Breen guards stand ready, and Starfleet security officers raise their weapons in turn. Ruhn accuses T’Rina of lying, claiming Tahal would rather gnaw her own flesh than strike a deal with the Federation. The Primarch deems Burnham's insistence that his rival was "fierce and fair" to be a bluff which wouldn't fool a hatchling, but Commander Rayner takes pleasure in mixing his own intel into the ruse. Rayner knows Tahal well, aware that she named her flagship Tau Ceti after a lethal viper with a slow-acting venom. That's her favorite way to kill her enemies — including Rayner's kinfolk who stood against her at the Twin Gates on Kellerun — when she wants to watch them die by degrees. She only spared Rayner because she liked the way he fought — ferocious and relentless, almost like a Breen. Ruhn threatens to blast the station into atoms if they do not bring L'ak to him, but T’Rina is aware the Primarch can not afford to risk harming his nephew.

"Erigah"
StarTrek.com
In Sickbay, Moll approaches the containment field and tells a guard that she needs to talk to Captain Burnham. L'ak covertly accesses vials on the side of his biobed, injecting himself with an entire day's dose and bursting out in a fit of pain. Culber has the field lowered and rushes over to help, but Moll harnesses the distraction by kicking a tube and venting cold vapors into the room. She freezes her cuffs in the sub zero gasses and breaks them against a guard's face. She incapacitates the two security officers in hand-to-hand combat, wrestling a phaser from one of them and using it to stun Culber. Nhan arrives and blocks the door, engaging Moll in a desperate fight through the chilled haze that had settled upon the room.
Over at Federation Headquarters, Primarch Ruhn falls victim to T'Rina’s gambit and submits that he will exceed whatever terms the Federation had agreed to with Tahal. The President has no desire to engage in a bidding war between factions, but she walks toward him and puts forth a third option — they reject the other Primarch's offer, and keep L'ak imprisoned at Fed HQ. If Ruhn does not accept, Discovery can activate its spore drive and take L'ak to Tahal in seconds. By taking the Scion off the table, the status quo between the factions will be maintained and the Primarchs can settle their dispute in battle. Ruhn seems open to this suggestion, though he notes that any harm done to L'ak in Federation custody will result in war. T'Rina promises that the Scion will be safe, but a call from Nhan interrupts the negotiation.
Captain Burnham beams into Sickbay, finding Nhan and her security officers recovering from the attack. As the Barzan treats a wound to her leg, she states that Moll escaped. Zora can't detect Moll's biometric data, so she may have some form of biometric cloaking technology implanted in her body. Frustrated, Burnham orders a lockdown protocol and sends Nhan in pursuit. Culber tends to L'ak, but he's losing him and needs to know more about Breen physiology. Burnham chooses to seek help from the Primarch and beams out.
"Erigah"
StarTrek.com
Zora's voice emanates from the comm system in Engineering, announcing that all decks have been sealed under lockdown protocol. She informs Book that Moll is on the run, but Stamets is resolute that the Kwejian stay to assist him in narrowing down potential origin points for the Betazoid clue. Book inquires as to whether any terminals have been used to access the ship's schematics, and Zora confirms that someone logged in 30 seconds ago at Terminal C7 on Deck Five. Book gathers his jacket and moves to spring into action, only halting once the astromycologist underlines that the mission has to be the priority. Book relents, switching back into investigative mode.
Although the scientist was Betazoid, there are no trace elements from Betazed in the clue. Stamets latches on to Book's offhand comment that he feels they should be further along. Betazoids are telepaths, so what if Dr. Derex created a transitive link between the card and where it came from. Traces of her thoughts and emotions could have been left behind, and Book's empathic abilities could allow him to read them. Stamets hands Book the clue, and the Kwejian empath closes his eyes to focus on the card. In his mind, Book sees empty space followed by an orange-hued dust storm — a plasma storm rocked by explosive plasma blasts. Book also gets a feeling of "eternity" or "eternal," but that’s all. This narrows the field down a bit, so Book hurries off to locate Moll.
"Erigah"
StarTrek.com
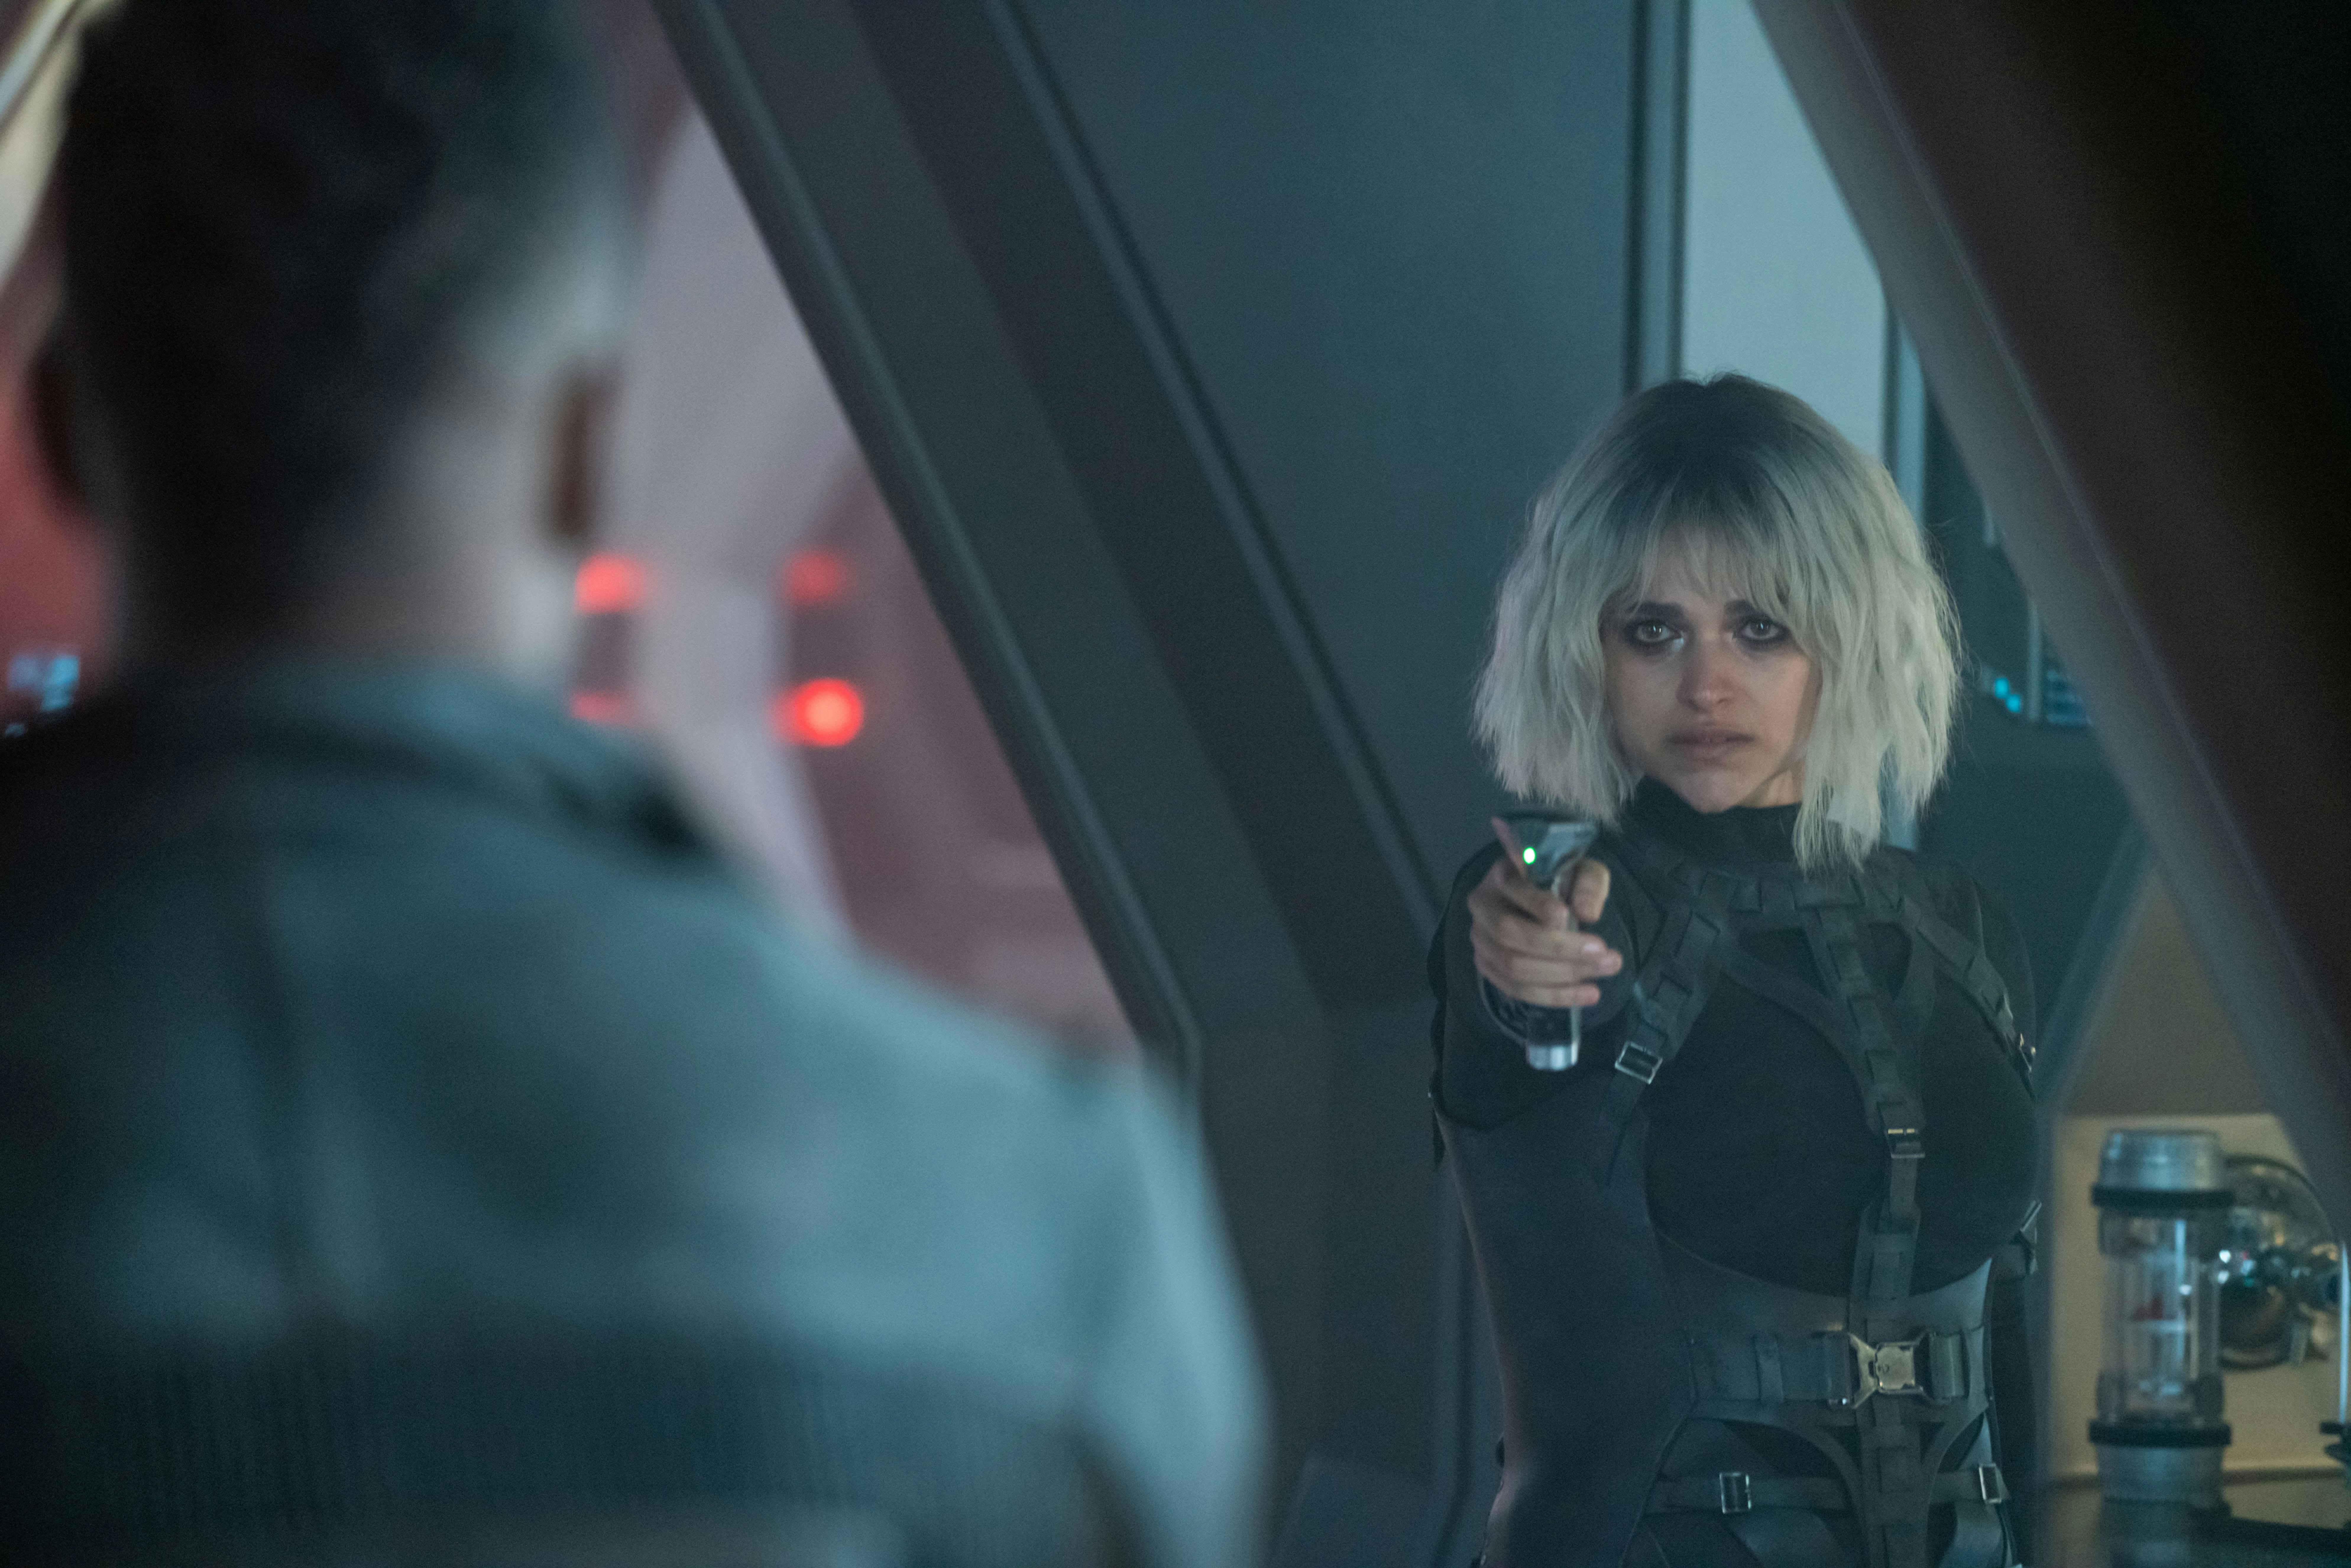
Captain Burnham beams back into Sickbay, where L'ak endures unbearable agony. She convinced Primarch Ruhn to provide a Breen medic, but he would only agree if he could also join them. Ruhn and his helmeted associates transport in, and their medic heads over to examine L'ak. Ruhn wonders where Moll is, so the captain covers by saying the other prisoner is elsewhere on the ship. The medic gets to work, and a diagnostic hologram opens to display L'ak's vitals. Meanwhile, Nhan coordinates with Book in Discovery's corridors to find a more precise location for Moll. The Barzan is grateful for Book's tip about the terminal and mentions she might have misjudged him. Book says making things right is a process. The pair round a corner and spot Moll holding a phaser at a crew member. The courier takes aim at them, but Nhan calls out to tell her that the escape attempt backfired — L'ak made an error with the dose and may not survive. Moll doesn't believe her — she states that Nhan can sell her a goat farm on Bopak III while she's at it — but Nhan nods to Book to confirm the prognosis.
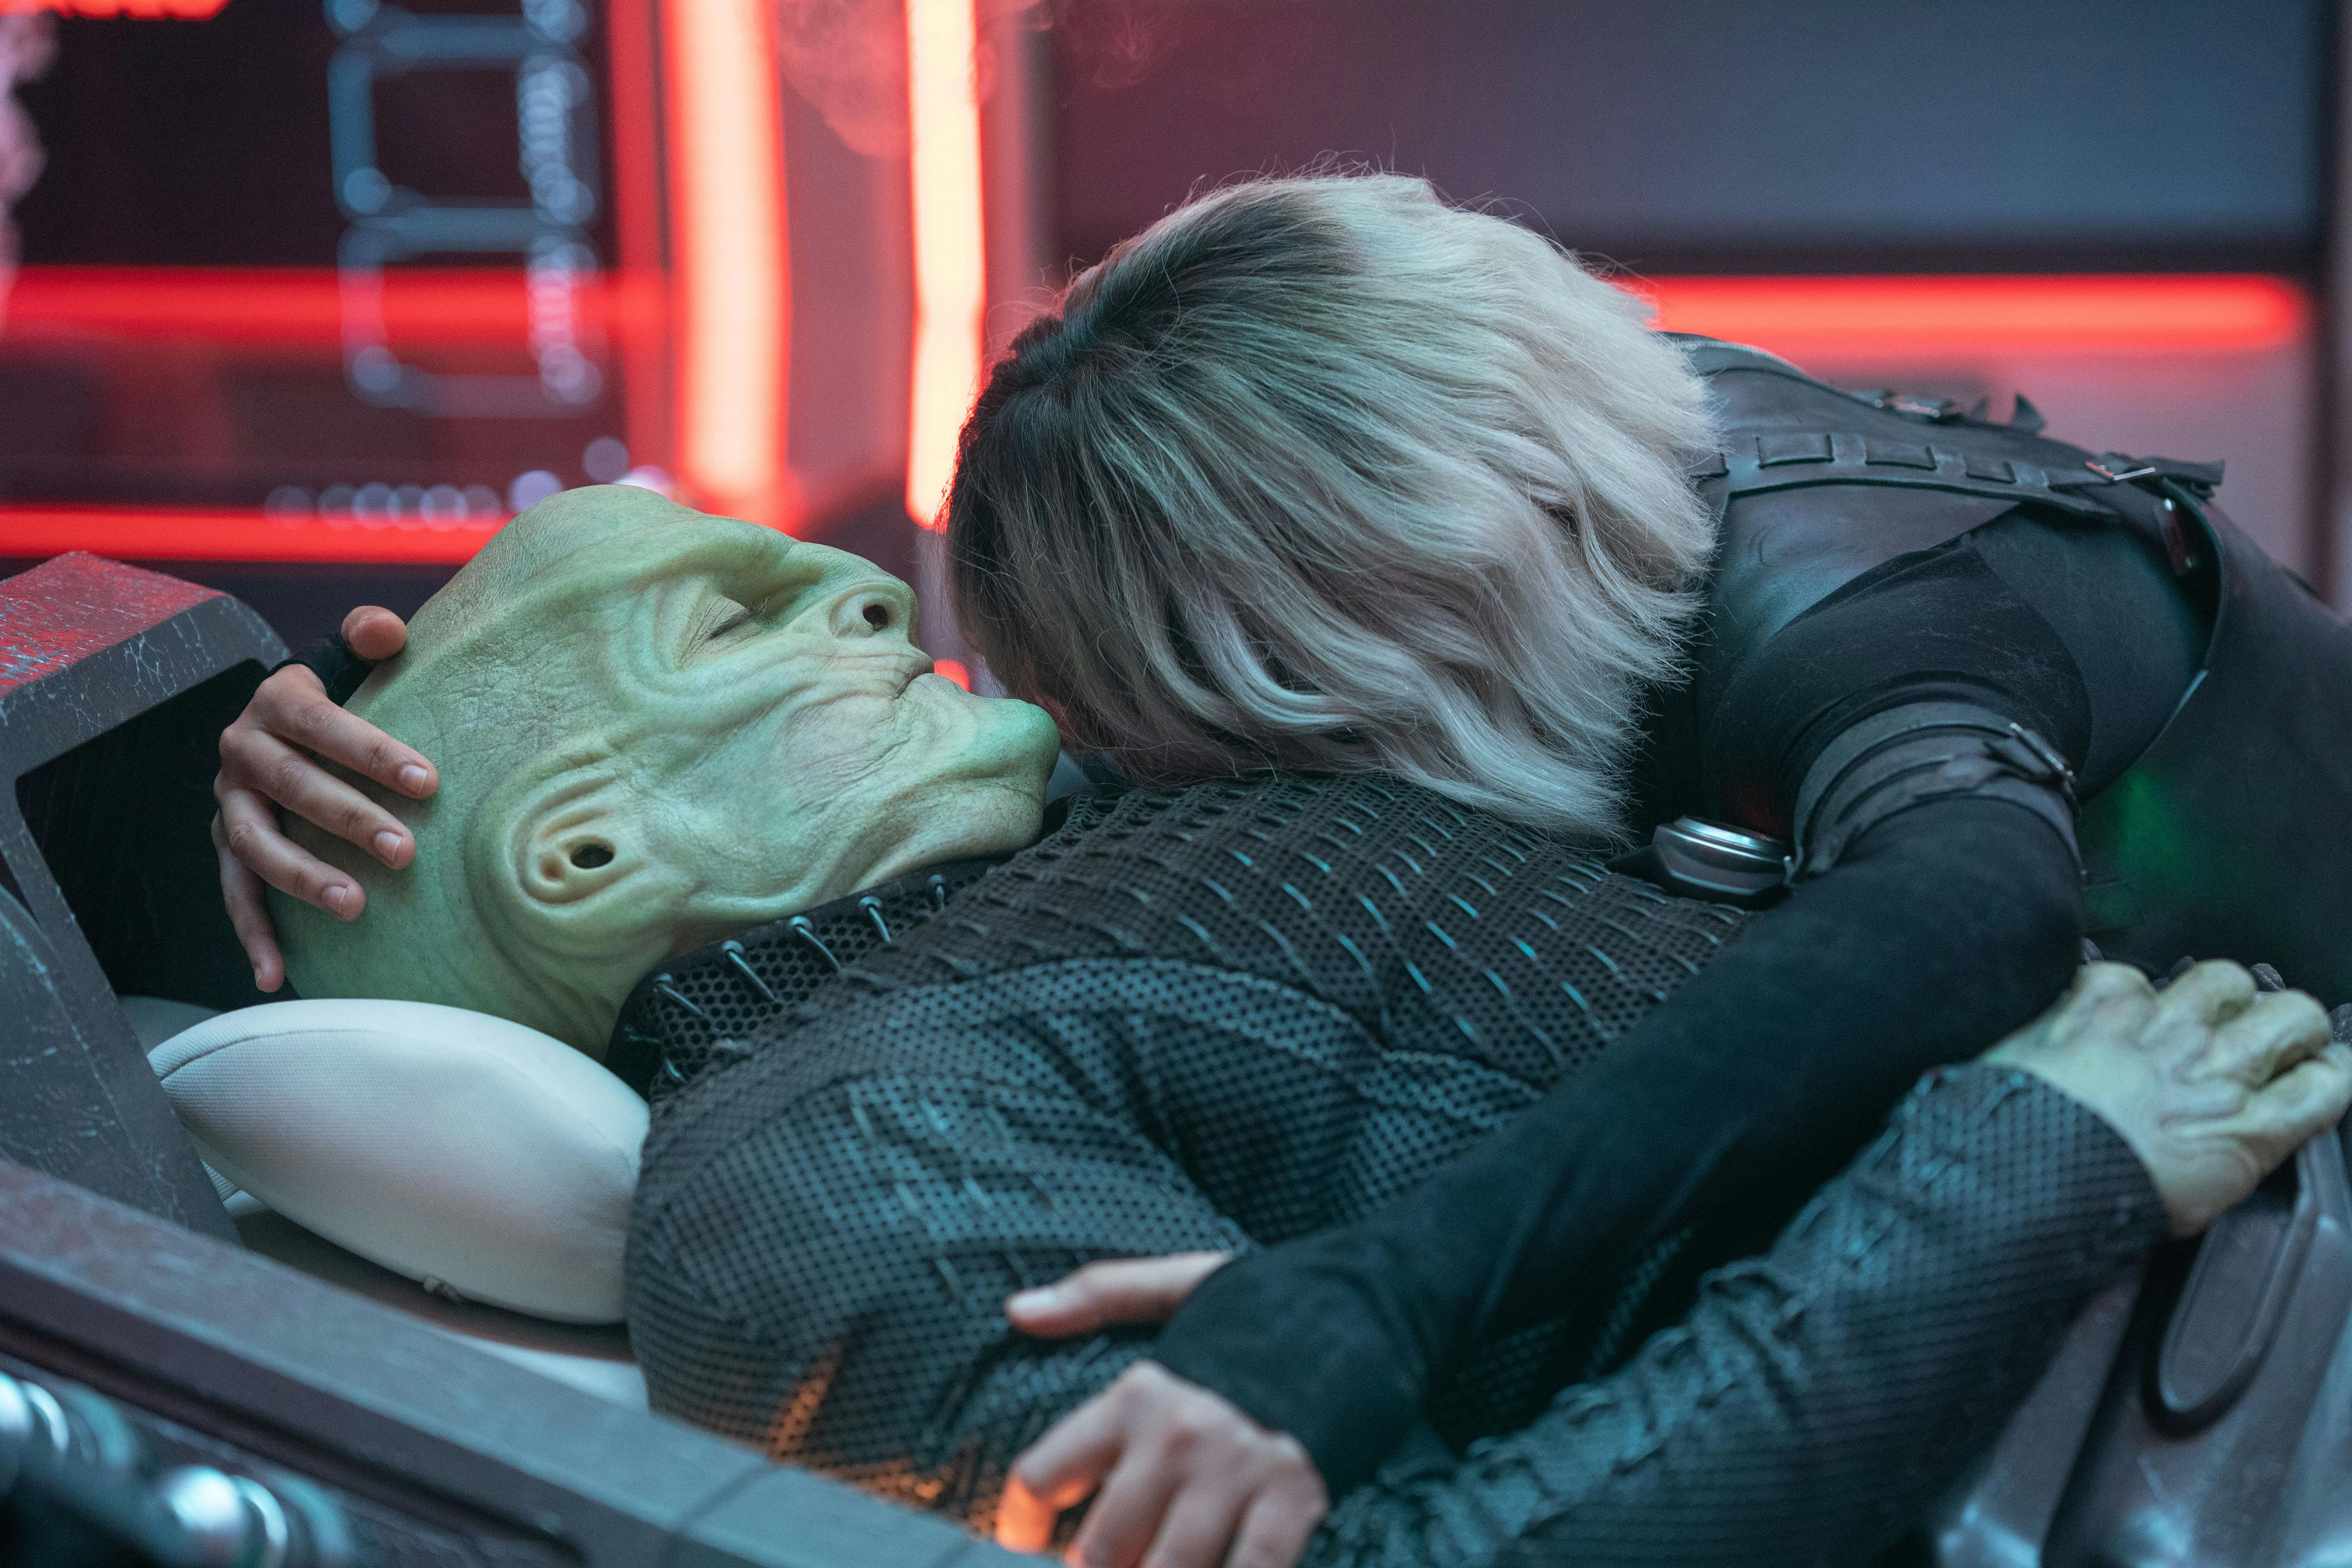
Book decides to give negotiation a try, stepping out into the open with his hands empty. He knows L'ak is Moll’s world, and he also knows what it's like to lose one. She maintains her defensive stance, but he implores her not to miss her chance to be there with her partner. Moll relents and surrenders her weapon. She is escorted to Sickbay, where she is surrounded by Burnham, Culber, and Ruhn as she makes a tearful approach to L'ak in his biobed. The Breen fights to keep his eyes from closing as he consoles Moll, who doesn't see this as how their story ends. L'ak succumbs to his injuries and lets out his last breath, causing Moll to lower her head and more tears to flow. Primarch Ruhn becomes furious and claims the Federation has killed the Scion. Burnham denies the accusation, and Culber explains that L'ak hacked the biobed and administered a massive dose of tricordrazine. Runh does not care for the intention, only the outcome.
"Erigah"
StarTrek.com
Primarch Runh warns Burnham that she must prepare for battle and sends a message to the Breen soldiers who stayed in Fed HQ's Command Center — L'ak is dead, the troops must return to their ship, and all torpedo systems are to be armed. The Breen vanish, leaving Admiral Vance with no choice but to take Headquarters to Red Alert. Commander Rayner insists that Starfleet make the first move, but T'Rina cautions that what they do will make waves across many worlds. Lieutenant Teemo detects new warp signatures, and the senior officers watch as four Starfleet vessels arrive to reinforce the station.
Back in Sickbay, Captain Burnham continues to try and reason with Ruhn, while Culber points out that L'ak overdosed on a stimulant during an escape attempt. Their words mean nothing to the Primarch, but Moll wipes away tears and confirms their account. Ruhn does not believe the human, and she assesses that Ruhn thinks a war against the Federation will unite the Breen behind him. The Primarch concedes that if he cannot use the Sion in life, he will use him in death. Rolling up her sleeve to reveal a mark which L'ak also bears on his forearm, Moll notifies him that she goes wherever L'ak goes — that is the privilege of their joining. Ruhn calls the marriage an abomination, insisting that she will never be welcome among the Breen. Moll presents another factor in her favor, mentioning the Federation's search for the Progenitors' tech — a power so great that Ruhn wouldn't need L'ak to claim the throne. The Primarch mulls her offer, shifting his gaze to the various Starfleet officers around the room. Finally, he concludes that the Federation must release Moll to him as his price for averting a war, giving them five minutes to choose.

"Erigah"
StarTrek.com
Book and T'Rina gather with the Starfleet team — Burnham, Rayner, Vance, and Nhan — in another meeting room at Fed HQ. Moll is confined to another containment field nearby, and Captain Burnham believes the courier has a plan. The field prevents Moll from discerning what her captors are saying to one another, so she doesn't hear Vance ask if Moll knows anything about the Progenitors' tech that she hasn't already told the Breen. Nhan points to a newly discovered passage from Dr. Vellek's diary which highlights the Romulan's view that the Progenitors' life-creating technology could potentially be used to revive the dead. Burnham deduces Moll wants to utilize it to bring L'ak back. By helping the Breen, she gets L'ak and freedom from the Erigah at the same time.
Rayner adds a strategic consideration, Moll doesn't have the clue from Halem'no. Although the Breen can track Discovery's jump signature, speed will be on the Federation's side. Upset that this course is even being contemplated, Book desperately suggests that Moll should be tried for what happened on Q'Mau. T'Rina observes that Moll also committed crimes in Breen space, and would be held accountable according to the Imperium's laws. The President concludes that there is little to be lost by letting the Breen take Moll, but much to be lost by keeping her. Vance signals the security officers standing by the containment field, and they lower the barrier. Moll is transported over to the Breen dreadnought. Astounded by the outcome, Book turns to Burnham and avows that this is wrong. The Breen warship begins moving away from Federation Headquarters and engages its warp drive.
Stamets, Tilly, and Adira meet with Burnham and Rayner in the Ready Room not long after the Breen vessel's departure. They've figured out that the next clue is in a place called the Eternal Gallery and Archive. The facility changes location every 50 years or so, but thanks to Book, they know the Archive is currently in a region with a lot of ionic discharge in close proximity. Stamets brings up a holographic map of possible locations, and Adira has Zora overlay 18 sets of coordinates depicting the Archive's position over the last 900 years. Tracing the path, Tilly determines that the Archive should now be in the Badlands.* Rayner's been there, and he says that it's as fun as it sounds.
The captain thanks her colleagues, but asks her first officer to stay behind as the science team makes their exit. Burnham acknowledges that today must have been difficult for Rayner. After all, she mutinied rather than give an inch back to the Klingons. She is impressed with the way Rayner handled himself, agreeing with Rayner's assessment that what the Breen did to Kellerun must never happen again. They tap their badges and beam to the Bridge, where they request status reports from the senior staff. Lieutenants Christopher, Linus, Gallo, and Naya certify that their stations are ready, and Lieutenant Commander Asha is enthusiastic about the challenge of navigating the Badlands' notorious turbulence. Seated in the captain's chair, Burnham takes Discovery to Black Alert.

StarTrek.com
* "The Maquis" — The Badlands was first introduced in this Star Trek: Deep Space Nine episode as a Demilitarized Zone in the Alpha Quadrant bordering both the United Federation of Planets and the Cardassian Union.

StarTrek.com
- Written by M. Raven Metzner
- Directed by Jon Dudkowski